How to Choose a Fish Finder for Ice Fishing: A Buying Guide for Canadian Anglers
For ice fishing, the best fish finder is a portable flasher or a flasher-mode sonar unit with a small transducer you drop straight into your hole.
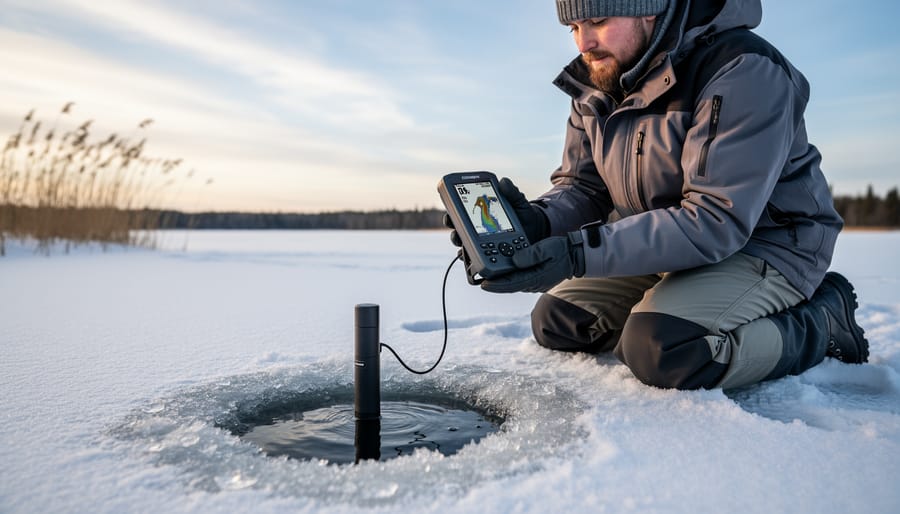
For ice fishing, the best fish finder is a portable flasher or a flasher-mode sonar unit with a small transducer you drop straight into your hole. Pick one with a clear, easy-to-read display, then spend ten minutes learning how to read it. That’s the whole job, and it’s easier than it sounds.
Here’s why it works. A good ice fishing fish finder lets you see the depth, find structure, mark fish, and watch how they react to your lure in real time. The moment a fish swims under the transducer, a colored line shows up on the screen. No guessing, no jigging blind over dead water for an hour.
I remember my first winter on a Canadian lake, drilling hole after hole and hoping. The day I dropped a transducer down and saw a fish rise to my jig, I was hooked on sonar for good. Everything I’d been doing by feel suddenly made sense.
Unlike boat sonar, an ice unit is a self-contained, portable system. Drop the small transducer in the hole and you’re fishing. Garmin and Humminbird now offer flasher modes that mimic the classic spinning-wheel display, plus a 2D sonar view, so you can choose the look you find easiest to read.
This guide walks through what to look for, how flashers, LCDs, and live sonar compare, which Garmin models are worth a look, and the setup mistakes that cost beginners fish.
What an Ice Fishing Fish Finder Actually Does Under the Ice
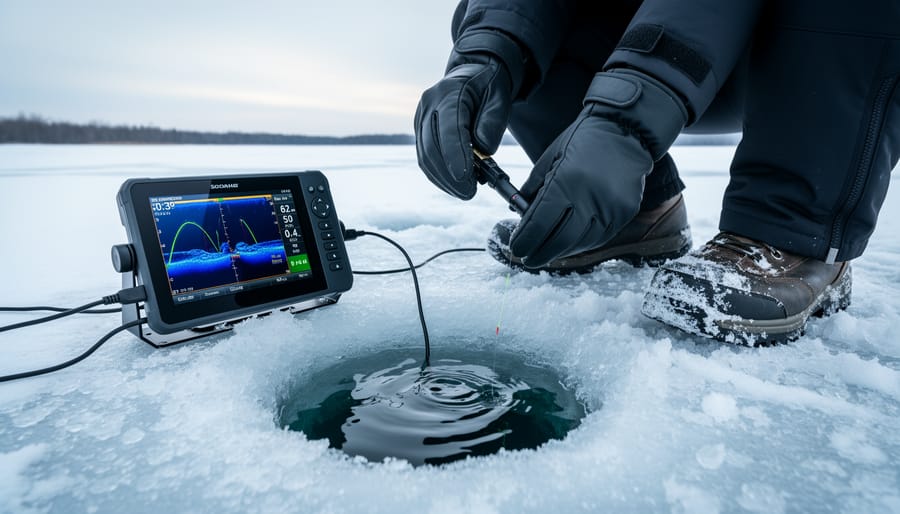
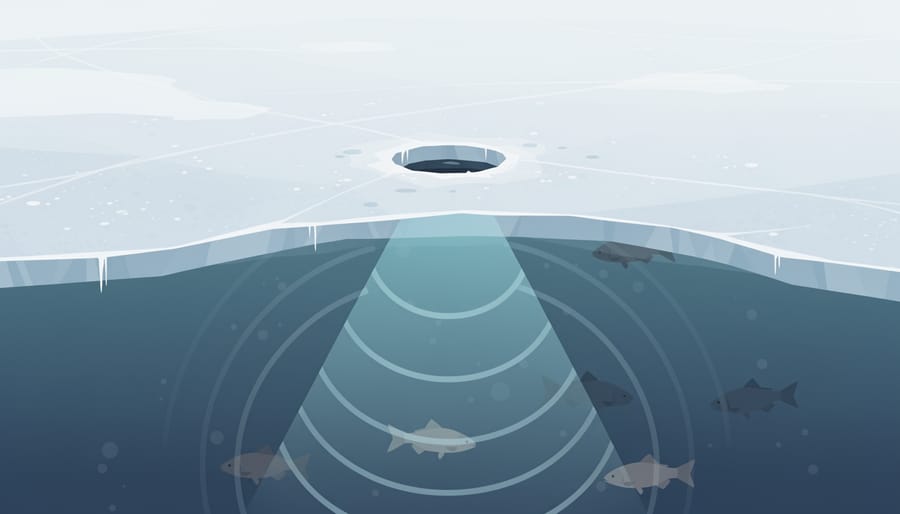
An ice fishing fish finder, also called sonar, sends a signal down through your hole and shows you what’s below on a screen. It’s a big upgrade over jigging blind. Instead of guessing, you can see the depth, find structure like a drop-off or weed edge, mark fish as they swim by, and watch how they react to your lure in real time.
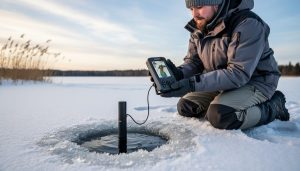
If you’ve ever used sonar on a boat, this works a little differently. A boat unit is bolted to the hull, wired in, and tied to the whole rig. An ice unit is a self-contained, portable system. You drop the small transducer (the part that sends and receives the signal) into your hole, and you’re ready to fish. No mounting, no wiring, no fuss with the sled half-unpacked.
The classic style is the flasher. It has a circular, color-coded display with a spinning wheel, and it gives instantaneous feedback. The moment a fish swims under the transducer, a colored line appears on the screen. That’s the “aha” moment for most beginners. You see the fish come in, watch it inspect your jig, and know exactly when to ease off or give it a twitch.
That live view is what turns a quiet hole into something you can actually read.
Key Buying Factors: What to Look For Before You Spend a Dollar
Display and Real-Time Feedback
Here’s why instant feedback matters so much: a fish can cruise under your lure and be gone in seconds. Without a screen, you’d never know it was there.
Traditional ice fishing sonar, the flasher, gives you a circular, color-coded display with a spinning wheel. The moment a fish swims under the transducer, a colored line appears on the screen. You see it right then, not a few seconds later, and you can adjust your jig on the spot.
That live feedback lets you watch how fish react to your lure, whether they rise to it, hover, or spook. It’s the closest thing to peeking down the hole yourself.
Garmin and Humminbird now offer flasher modes that copy this real-time look, so you don’t need a traditional flasher to get it. When you’re building your ice fishing gear checklist this is the display behavior worth looking for.
Transducer Choice and Beginner-Friendliness
The transducer is the small piece that actually does the work. It’s the part you drop down the hole, and it sends the sonar signal into the water and listens for what comes back. The screen just shows you the result. If the transducer isn’t sitting properly in the water, even a great display will tell you very little.
On many beginner bundles, including the Garmin Striker Plus 4 Ice Fishing Sonar, you’ll see a dual-beam style transducer like the Dual Beam-IF. In plain terms, that’s a common, forgiving setup for first-timers, so you don’t have to fuss with settings before you can fish.
Simple operation matters more than extra features early on. Your first few outings are already a lot to juggle, with cold hands, a fresh hole, and a jig to manage. A unit that’s easy to read keeps you fishing instead of fiddling.
Flashers vs LCD vs Live Sonar: Types Compared
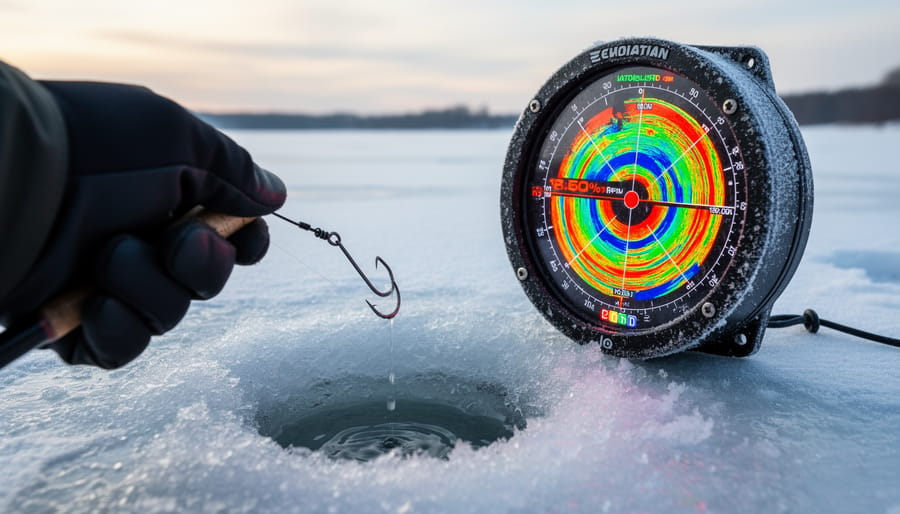
Three main types of ice fishing sonar are worth knowing: the traditional flasher, the LCD fish finder with a flasher mode and 2D view, and live-scanning systems. For most beginners, an LCD unit with a flasher mode is the safest all-round starting point, because it gives you the instant feedback of a flasher plus a screen that’s easier to read.
The classic flasher uses a circular, color-coded display with a spinning wheel. The feedback is instantaneous: the moment a fish swims under the transducer, a colored line appears on the screen. An LCD fish finder gives you a regular screen, and Garmin and Humminbird units now include special flasher modes that mimic that real-time display, along with a 2D sonar view. Live sonar, like Garmin Panoptix LiveScope, scans forward and down to show fish moving in real time.
| Type | Display | Real-time feedback | Beginner-friendly? | Price tier |
|---|---|---|---|---|
| Traditional flasher | Circular, color-coded wheel | Instant colored line | Easy once you learn the colors | Budget to mid |
| LCD with flasher mode and 2D view | Screen with both display styles | Instant in flasher mode | Very, thanks to the choice of views | Budget to mid |
| Live scanning (LiveScope) | Large screen, forward and down views | Live view of fish moving | Steeper learning curve | Premium |
Here’s how I’d match them to anglers. A flasher suits someone who wants simple, fast feedback and doesn’t mind learning to read the wheel. An LCD unit suits most newcomers, especially if you like having a 2D picture to fall back on. Live scanning suits the angler who’s already comfortable on the ice and wants to watch fish approach, inspect, and leave.
My buddy Dave fished a flasher for years on our northern lake trips. When he finally switched to an LCD, he loved how much easier it was to explain to the newer guys in the shack. The 2D view gave everyone a picture they understood right away. What he missed was the snappy feel of the spinning wheel, at least until he flipped the unit into its flasher mode and got that instant response back.
Check the manufacturer’s spec sheet for details like frequency compatibility and battery runtime on any model you’re considering.
Recommendations: Which Ice Fishing Fish Finder Fits Which Angler
Best Value for Beginners on a Budget
The Garmin Striker Plus 4 Ice Fishing Sonar with Dual Beam-IF Transducer is the one I’d point most first-timers toward when budget matters. It’s listed as the best value for beginners, and the bundle includes the Dual Beam-IF Transducer, so you aren’t hunting for matching parts before your first trip.
Here’s what to expect. You drop the small transducer into your hole, and you’re ready to fish. As soon as a fish swims under the transducer, a colored line appears on the screen, which makes reading sonar feel natural rather than like decoding a puzzle.
Because Garmin units now offer flasher-style modes that mimic the real-time display of a traditional flasher, you get that instant feedback without a steep learning curve. Before buying, check the manufacturer’s spec sheet for details like frequency compatibility and battery runtime. I haven’t verified those here.
Step Up: Garmin Striker 4 and the Panoptix LiveScope Ice Fishing Bundle
If you’re ready to move past a basic flasher, the Garmin Striker 4 is a sensible first step up. It has a 3.5-inch color screen, built-in GPS and simple keypad operation, and it runs about $140, though you should confirm current pricing. The GPS lets you mark a productive hole or a stretch of structure so you can find it again, which is handy on a big, featureless lake. It suits anglers who want more than a flasher offers without a steep learning curve.
The Garmin Panoptix LiveScope Ice Fishing Bundle is a different level. You get a 9-inch touchscreen and a dual-mode transducer with LiveScope forward and LiveScope down, so you can scan around you as well as straight below. The payoff is real-time fish scanning, watching fish approach and react instead of only seeing a line flash past.
That’s a bigger investment, so it fits anglers who already know how to read sonar and want to push further. If you’re still learning, start simpler and upgrade later.
Setting Up and Reading Your Sonar on a Winter Lake
Last winter I sat in a pop-up shack on a northern lake before sunrise, coffee steaming, and for the first twenty minutes I just watched the screen. I’d marked the bottom, a few humps off to one side, and then a thin colored line drifted in right under my jig. That was a walleye, and I’d never have known without sonar.
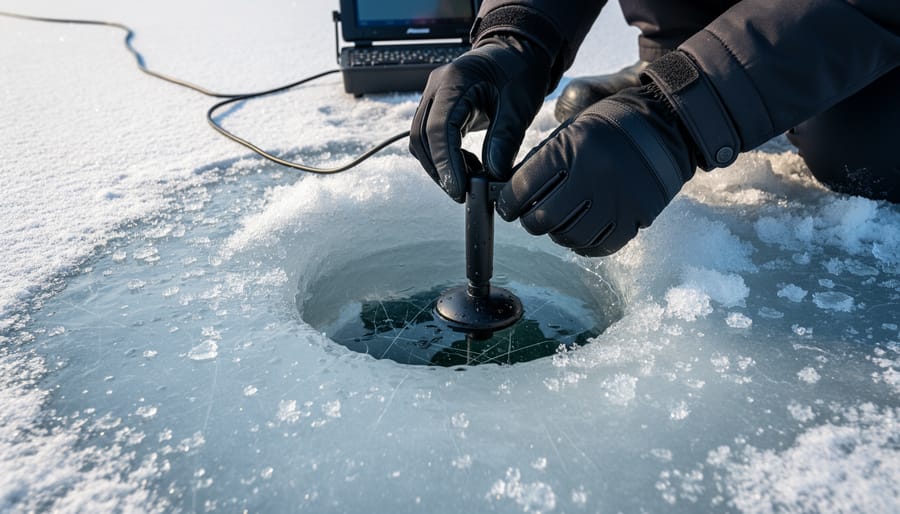
Start with the hole. Drop the small transducer in so it hangs straight down, and you’re ready to fish. Because an ice fishing unit is a self-contained, portable system, there’s no mounting or wiring to fuss with. Slush is the enemy on hardwater, so clear it out and keep the transducer suspended in open water instead of letting it freeze into the edge or sit in a slushy hole. A clean signal beats a fancy screen every time.
Next, find the bottom. It shows up as a strong, solid band, and structure like humps, weed edges, or drop-offs appears as changes in that band as you move between holes. On a lake trout lake, you’ll often be fishing deeper, so take a minute to confirm your depth before you drop your line.
Here’s the fun part. On a flasher-style display, a colored line appears the moment a fish swims under the transducer. Your jig shows up too, so you can watch the exchange. Does the fish rise to meet it? Hang back? Spook? That real-time feedback tells you when to hold still, lift slow, or drop down and try something else.
Pair your sonar with the right gear for a better day. Our ice fishing rod guide covers sensitive rods, and the best fishing line for ice helps you feel every subtle bite the screen shows you.
Mistakes to Avoid When Buying and Using Ice Sonar
I’ve made most of these mistakes myself, so none of this comes from a place of judgment. The first winter I owned sonar, I did at least three of them before lunch.
The biggest one is buying more screen than you need. A bigger display feels like a safe bet, but if you’re sitting in a shack or over a single hole, a simple unit that shows depth and a clear fish line does the job. Beginners on a budget often do best with a flasher-style display, since the colored line appears the moment a fish swims under the transducer.
Another slip is ignoring the display type that matches how you fish. Some folks love the instant feedback of a flasher. Others prefer an LCD with a 2D sonar view. Garmin and Humminbird now offer flasher modes, so you can get a bit of both.
Once you’re on the ice, watch the transducer. Letting it sit in slush or a skim of fresh ice can blur your readings, so keep the hole clear and the transducer free of buildup.
Finally, don’t stare at the screen so hard that you forget to fish. The sonar is there to help your jigging, not replace it. Glance, react, and keep your lure working.
Fish Finder for Ice Fishing: Common Questions
Do I need a fish finder for ice fishing?
No, you can catch fish without one, but it’s a big upgrade. Sonar lets you see the depth, find structure, mark fish and watch how they react to your lure in real time.
What’s the difference between a flasher and an LCD?
A flasher is the traditional unit, with a circular, color-coded display and a spinning wheel that gives instant feedback. Newer LCD units from Garmin and Humminbird have flasher modes that mimic that look, plus a 2D sonar view.
Can I use a boat fish finder through the ice?
Not as it comes. A boat setup isn’t built for the ice, while an ice unit is a self-contained, portable system where you drop a small transducer into your hole and you’re ready to fish.
What’s the best fish finder for a beginner on a budget?
The Garmin Striker Plus 4 Ice Fishing Sonar with Dual Beam-IF Transducer is listed as the best value for beginners on a budget. Check current pricing and availability before you buy.
Do I need a special transducer? Yes, you’ll want an ice-ready one. It’s the small piece that goes down the hole, and the Striker Plus 4 bundle above includes one. If you’re eyeing a different model, confirm frequency compatibility on the manufacturer’s spec sheet rather than assuming it.
A few of these questions came up again and again when I started, and nobody made me feel silly for asking. If you want to see units side by side before you spend money, our ice fishing show tips will help you get more out of the demos and booths. And if you’re curious how anglers put their sonar to work in a real competition, check out what to expect at a Manitoba ice fishing derby.
I still remember that first winter, jigging blind over a hole on a northern lake and wondering what was going on 30 feet below me. Now I can’t imagine going back. Once you’ve watched a fish rise toward your jig and seen a colored line flash on the screen, hardwater fishing stops feeling like guesswork and starts feeling like a conversation.
So here’s the short version of everything we’ve covered. Pick a portable, self-contained unit, since you just drop the small transducer in your hole and you’re ready to fish. Choose a display style that fits how you like to fish, whether that’s a traditional flasher or an LCD with a flasher mode and 2D view. And if you’re new to this, start with something beginner-friendly, like the Garmin Striker Plus 4 Ice Fishing Sonar with Dual Beam-IF Transducer, rather than overbuying screen you don’t need yet.
Before you buy, check the manufacturer’s spec sheet for details like frequency compatibility and battery runtime, and confirm current pricing.
I’d love to hear what you’re running out there. Tell me about your ice setup, your favourite lake, or the fish that surprised you, and sign up for the newsletter so you don’t miss the next winter guide.