How to Fish a Ned Rig: Simple Steps for More Bites in Canadian Waters
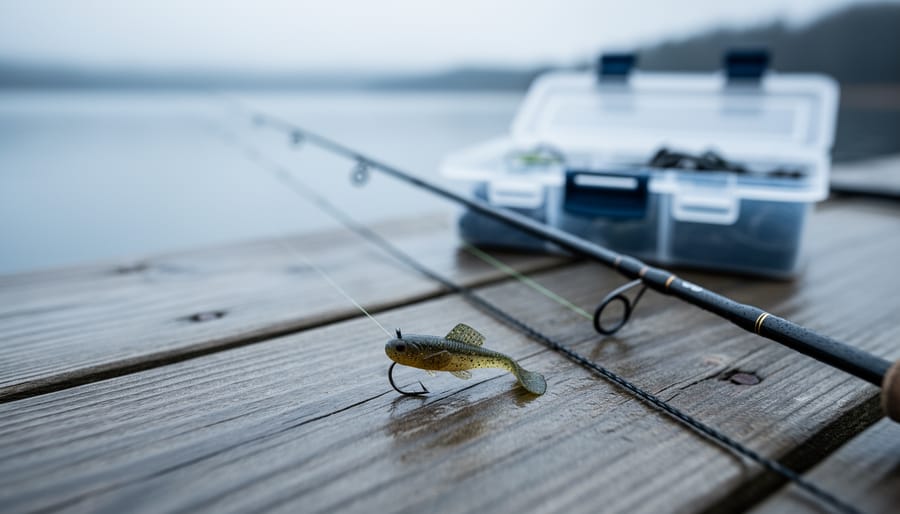
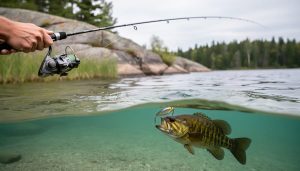
The Ned rig is a miniature finesse presentation that pairs a tiny soft plastic (typically 2 to 4 inches) on a mushroom or ball head jig, fished slowly on light line and spinning tackle to catch bass when they ignore everything else. Born from tournament desperation, this rig works because it looks like an easy meal: a small crawfish, goby, or baitfish barely moving across the bottom. You’ll fish it on 6- to 10-pound line with a medium-light spinning rod, dragging it across structure, hopping it in short bursts, or letting it glide back to the bottom after gentle lifts.
What makes the Ned rig different from other finesse techniques is its standup presentation. That mushroom head keeps your bait vertical on the bottom, looking alive even when you’re doing nothing. The original setup was half of a Yamamoto Senko threaded onto the jig head, but now you’ll find dedicated Ned plastics in every shape: tiny craws, creatures, minnows, stick worms. I’ve watched bass swim past crankbaits and spinnerbaits only to inhale a motionless Ned rig sitting on a rock pile.
The technique demands patience. You’re fishing slower than you think you should, waiting for the bait to settle, then barely moving it. Short hops imitate a struggling crawfish. Slow drags with long pauses let it glide and rest. Hover-rigging, where you hold the bait just off bottom in current or wind, is gaining traction as a macro finesse tactic that produces aggressive strikes.
What You’ll Need: Tackle and Gear for the Ned Rig
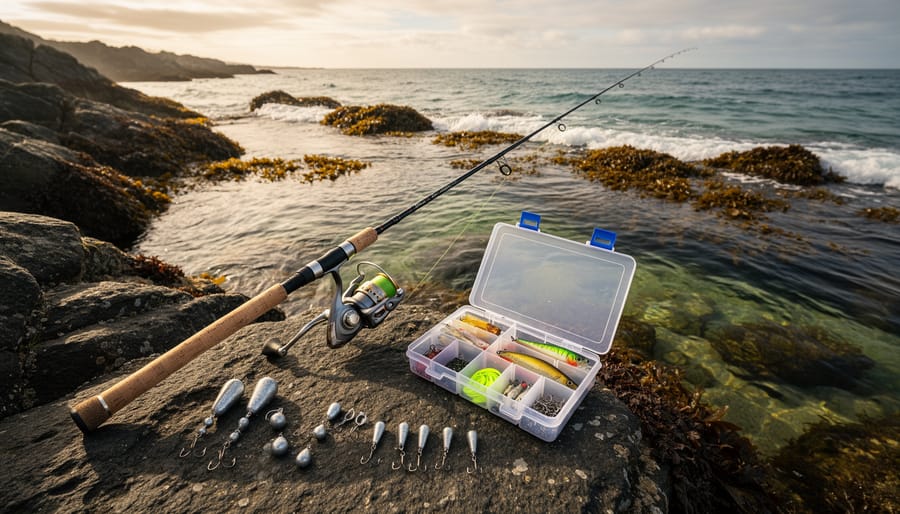
The Ned rig doesn’t demand a tackle box overhaul. You need a few specific items, and most anglers already own the core pieces. The setup is simpler than it looks.
Start with the jig head. You want a mushroom or ball head jig in the 1/16 to 1/4 ounce range, depending on depth and wind. The mushroom shape creates the signature stand-up presentation on the bottom, where the bait sits nearly vertical instead of lying flat. That posture triggers strikes from fish that might ignore a horizontal bait. Look for jigs in the 2 to 4 inch category overall, though the head itself is compact.
Next, grab soft plastics under 3 inches long. The original Ned rig was basically half of a Yamamoto Senko threaded onto a mushroom head, and that DIY approach still works. Today you’ll find purpose-built options including tiny craws, creatures, minnows, and worms designed specifically for this technique. Stock a few colours: green pumpkin, black, and a natural baitfish tone cover most Canadian waters.
Your best fishing line choice is fluorocarbon or monofilament in the 4 to 8 pound test range. Fluorocarbon sinks faster and offers better sensitivity for feeling subtle bites through light line. Some anglers prefer 6-pound as the sweet spot between castability and strength. Braid works too if you add a fluorocarbon leader, but straight fluoro keeps the setup simple.
The rod and reel matter more than many beginners realize. You need a spinning setup, not baitcasting gear. A medium-light to medium power rod between 6’6″ and 7’2″ gives you the backbone to set hooks while maintaining the sensitivity to detect light bites. Pair it with a 2000 or 2500 size spinning reel for balanced casting and smooth drag control.
Here’s what belongs in your fishing gear checklist for Ned rigging:
- Mushroom or ball head jigs, 1/16 to 1/4 ounce, in at least three weights
- Soft plastics under 3 inches (tiny craws, stick baits, creatures, minnows)
- Fluorocarbon or monofilament line, 4 to 8 pound test
- Medium-light spinning rod, 6’6″ to 7’2″ length
- 2000 or 2500 size spinning reel with smooth drag
This technique falls under the broader category of Ned rig macro-finesse where small presentations trigger bites from pressured or inactive fish. The gear reflects that philosophy: everything downsized, nothing overpowered. You’re presenting a meal that looks easy to eat, and the light tackle lets you feel when a fish commits.
Don’t overthink the colour selection early on. Natural tones consistently produce across Canadian lakes and rivers. As you gain confidence with the technique, experiment with brighter options in stained water or during low-light periods. The presentation matters more than the exact shade.
Before You Cast: Water Conditions and Safety Considerations
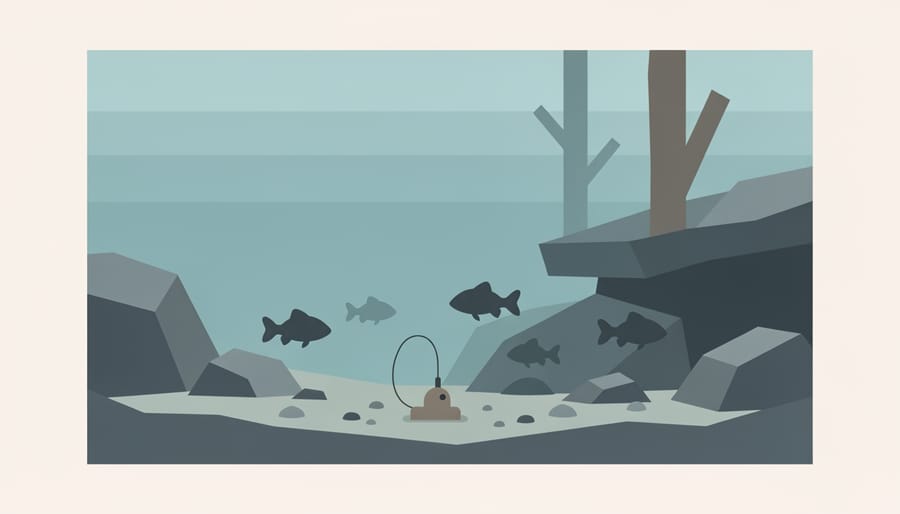
The Ned rig shines when bass, walleye, and panfish turn finicky. You’ll get your best results in clear water where fish can scrutinize every bait, during cold fronts that shut down aggressive feeding, and in the post-spawn period when fish recover in shallow staging areas. Pressured lakes and rivers where fish see countless lures every weekend are prime territory for this understated presentation. The mushroom head’s subtle profile and slow descent trigger bites when nothing else will.
That said, finesse fishing demands more attention to your gear and surroundings than power techniques. Light line in the six- to eight-pound range cuts through water beautifully but snaps easily when wrapped around rocks, dock pilings, or submerged timber. Check your line every few casts for fraying, especially after contact with structure, and retie if you feel any roughness.
Set your drag light enough to protect the line on hooksets but tight enough to pull fish away from cover. A drag that’s too loose will cost you fish in dense vegetation or around boulder fields. When wading shallow flats in search of feeding bass, watch your footing on algae-covered rocks and slick clay banks, Canadian waters stay cold well into summer, and a slip can turn a good day sour quickly.
Weather shifts fast in many Canadian regions, especially near the Great Lakes and northern shield country. Pack a rain jacket even on calm mornings, and if you’re fishing remote waters, let someone know your plans and expected return time. The Ned rig works year-round, but safety always comes before the next bite.
Step-by-Step: How to Rig and Fish the Ned
Rigging Your Soft Plastic
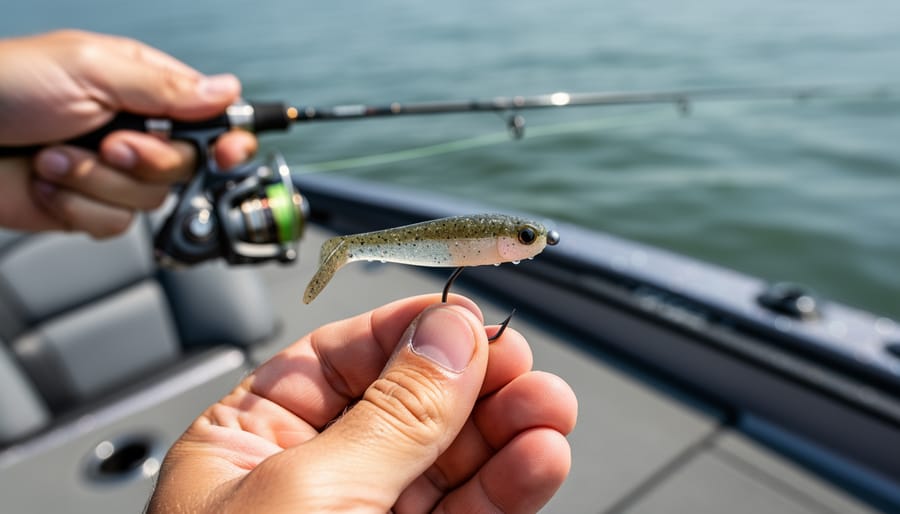
Threading your soft plastic onto the mushroom head correctly makes all the difference in how the Ned rig behaves underwater. Start by pushing the hook point straight through the center of the bait’s head, about a quarter-inch down. Exit the hook cleanly, then slide the plastic up the shank until the head nestles flush against the jig’s mushroom or ball collar. The bait should sit perfectly straight on the hook, any twist or kink kills the natural glide that triggers strikes.
Check your rigging from multiple angles before casting. Hold it at eye level and rotate it slowly. If the plastic corkscrews or leans to one side, pull it off and try again. A properly rigged Ned sits horizontal in the water and stands upright when it hits bottom, mimicking a small crayfish in a defensive posture. That vertical stance is part of what makes pressured fish commit to the bite.
The Basic Fall-and-Lift Retrieve
The fall-and-lift retrieve is the foundation of Ned rig fishing, and it’s remarkably simple once you understand what’s happening beneath the surface. After your cast, let the rig sink on controlled slack line until you feel it touch bottom, that little tick through your rod tip is your cue. Now reel in just two or three slow cranks to lift the bait off the substrate, then stop and let it glide back down on a semi-slack line. The mushroom head causes the soft plastic to stand upright when it settles, creating an easy meal presentation that bass, walleye, and panfish find hard to ignore.
Here’s why it works: as the bait drops, it wobbles and spirals naturally, triggering strikes from fish that are tracking the movement. Many hits come during the pause when the rig is sitting motionless on bottom, standing on its head like a feeding crayfish or stunned baitfish. You’ll often feel a gentle weight or slight pressure rather than a sharp thump, watch your line for sudden twitches or sideways movement. The key is patience between lifts. Count to three or four before your next crank, giving fish time to investigate and commit.
Drag-and-Pause Method
The drag-and-pause method shines when fish are glued to the bottom or when you’re working through scattered rock piles and gravel patches. Instead of lifting the rig, keep your rod tip low and use slow, steady reeling to creep the jig along the substrate. Every few feet, stop completely and let the bait rest for three to five seconds, sometimes longer if the water is cold.
This technique really comes into its own over hard bottom where the mushroom head maintains contact without snagging as easily as it would in vertical presentations. Sand, gravel, and firm clay let you feel every texture change through your line, and that tactile feedback helps you recognize when you’ve reached transition zones where fish stack up. In areas with scattered weeds or light wood cover, the drag keeps your bait in the strike zone longer than repeated lifts would.
Switch to this retrieve when the fall-and-lift produces follows but no commits, or when you’re marking fish tight to bottom on your electronics but they won’t chase.
Short Hops for Imitating Baitfish
Short hops work best when bass or walleye are actively feeding on small baitfish hugging the bottom. Instead of the slow lift-and-fall, give your Ned rig quick, sharp twitches with your rod tip, imagine a tiny goby or crayfish darting erratically across the rocks. Each hop should move the bait only six to twelve inches, followed by a brief pause as it settles back down.
This retrieve shines in clear water where fish can track fast movement, and around rocky structure where gobies naturally scurry. You’ll feel the jig tick against pebbles and sand through your light line, that tactile feedback tells you you’re in the strike zone. If the bottom feels mushy or weedy, switch back to the gentler drag-and-pause to avoid constant snags.
The key is varying your cadence. Three quick hops, then a longer pause. Two hops, pause, one hop. Experiment until fish respond. When it works, you’ll often feel the bite mid-hop as the fish intercepts the fleeing bait.
Hover-Rigging Variations
Hover-rigging keeps your bait suspended just above the bottom rather than dragging or hopping it along the substrate. You achieve this by maintaining constant tension on the line after the jig settles, using a slow, steady reel retrieve that holds the soft plastic in the strike zone without letting it rest. This presentation works well when fish are staging above structure or when you want to keep your bait visible longer in clear water. Experiment with hover-rigging when standard bottom-contact retrieves aren’t producing or when you notice fish suspending in the lower water column on your electronics.
Reading Your Bites and Knowing When It’s Working
Ned rig bites feel different from most lures. You won’t get the violent slam of a crankbait strike or the telltale weight of a Texas-rigged worm. Instead, you’ll feel a gentle tick, a slight heaviness, or what anglers call “mushy pressure” as if you dragged your jig over a sponge. Sometimes the bite is just the absence of bottom contact, your line goes slack when you expected to feel rock or sand, meaning a fish swam up with your bait in its mouth.
When you detect that tick or pressure, don’t rear back like you would with a treble-hook lure. With spinning gear and light line, a firm wrist snap is enough to drive the small hook home. Reel down until you feel resistance, then lift the rod tip smoothly. The mushroom head’s exposed hook point penetrates easily, so aggressive hooksets just pull the bait away from softer-mouthed species.
You know you’re in the strike zone when bites cluster in a specific depth range or around certain structure, say, every cast to the 12-foot rock pile produces a tap, while deeper water stays quiet. Fish often hold a Ned rig longer than smallmouth bass lures that move fast, giving you a second chance if you miss the initial strike. Multiple species showing interest, bass, walleye, even perch, confirms you’ve dialed in the right presentation.
If twenty to thirty minutes pass without a bite, adjust one variable at a time. Downsize your jig weight to slow the fall, switch to a different soft plastic colour (natural greens and browns in clear water, whites or chartreuse in stain), or shift depth zones by ten feet. Sometimes fish want the bait dragged instead of hopped, or they’re suspended mid-column rather than glued to bottom.
Common Questions About Ned Rig Fishing
Smallmouth, largemouth bass, walleye, and panfish all respond well to the Ned rig in Canadian waters. The technique’s subtle profile and slow fall trigger bites from species that might ignore louder, faster presentations. You’ll find walleye particularly receptive during cold fronts when they tuck tight to bottom structure, while bass chase the rig year-round in lakes across Ontario, Quebec, and the Prairie provinces.
Current doesn’t rule out the Ned rig, you just need to adjust your weight. In slow to moderate current, a 1/8-ounce mushroom head maintains bottom contact without dragging downstream too quickly. Heavy current demands heavier jigs or a switch to a different technique altogether, since the Ned’s effectiveness depends on that controlled fall and pause rhythm. Rivers with slack pockets behind boulders or eddies offer perfect Ned rig opportunities.
How do I avoid constant snags with such a light rig?
Keep your rod tip high during retrieves to guide the jig over rocks and weeds, and use short lifts instead of long sweeps. When you feel resistance, stop reeling and let the jig pendulum back toward you rather than yanking.
What colours work best in different water clarity?
Green pumpkin, watermelon, and natural browns excel in clear water, while black, chartreuse, and white provide better visibility in stained conditions. Match the hatch when you can identify local forage like gobies or crayfish.
When should I skip the Ned rig?
Choose faster-moving baits when fish are aggressive and actively feeding, or when covering water quickly to locate schools. The Ned rig shines in tough conditions but wastes time when fish chase reaction baits.
The mushroom head’s exposed hook point does catch weeds and rocks, but that’s part of finesse fishing. You’ll lose fewer rigs by feeling your way along structure rather than blind-casting into heavy cover. Check out our smallmouth tips for more guidance on working rocky Canadian shorelines where the Ned rig thrives.
The Ned rig won’t always be the flashiest technique in your tackle box, but it earns its keep when finicky fish ignore everything else. If you’ve been struggling through a tough bite or facing pressured waters where bass have seen every moving bait imaginable, give this finesse approach a fair shake on your next trip. Start with the basic fall-and-lift retrieve, pay close attention to subtle ticks on the line, and don’t be afraid to experiment with different soft plastic shapes or drag speeds until you dial in what your local fish prefer. The beauty of this method is its simplicity, once you’ve felt that first gentle tap and set the hook on a fish that refused all your other presentations, you’ll understand why so many Canadian anglers now keep a Ned rig tied on year-round.